This tutorial demonstrates how you can build a complete, load-balanced data pipeline on DC/OS™ in about 15 minutes!
Overview
In this tutorial you will install and deploy a containerized Ruby on Rails® app named Tweeter. Tweeter is an app similar to Twitter that you can use to post 140-character messages to the internet. Then, you use Zeppelin™ to perform real-time analytics on the data created by Tweeter.
You will learn:
- How to install DC/OS services
- How to add apps to DC/OS Marathon
- How to route public traffic to the private application with Marathon-LB
- How your apps are discovered
- How to scale your apps
This tutorial uses DC/OS to launch and deploy these microservices to your cluster:
Cassandra
The Cassandra® database is used on the back-end to store the Tweeter app data.
Kafka
The Kafka® publish-subscribe message service receives tweets from Cassandra and routes them to Zeppelin for real-time analytics.
Marathon-LB
Marathon-LB is an HAProxy®-based load balancer for Marathon™ only. It is useful when you require external routing or layer 7 load balancing features.
Zeppelin
Zeppelin is an interactive analytics notebook that works with DC/OS Spark on the back-end to enable interactive analytics and visualization. Because it is possible for Spark and Zeppelin to consume all of your cluster resources, you must specify a maximum number of cores for the Zeppelin service.
Tweeter
Tweeter stores tweets in the DC/OS Cassandra service, streams tweets to the DC/OS Kafka service in real-time, and performs real-time analytics with the DC/OS Spark and Zeppelin services.
Prepare and deploy Tweeter on DC/OS Cluster
Prerequisites
- DC/OS or DC/OS Enterprise installed with at least 5 private agents and 1 public agent.
- DC/OS CLI installed.
- The public IP address of your public agent node. After you have installed DC/OS with a public agent node declared, you can navigate to the public IP address of your public agent node.
- Git:
- macOS®: Get the installer from Git downloads.
- UNIX®/Linux®: See these installation instructions.
Install DC/OS services
In this step you install Cassandra, Kafka, Marathon-LB, and Zeppelin from the DC/OS web interface Catalog tab. You can also install DC/OS packages from the DC/OS CLI with the dcos package install command.
-
Find and click the cassandra package, click REVIEW & RUN, and accept the default installation, by clicking REVIEW & RUN again, then RUN SERVICE. Cassandra spins up to 3 nodes. When prompted by the modal alert, click OPEN SERVICE.
-
Click the Catalog tab. Find and click the kafka package, click the REVIEW & RUN button, then again, then RUN SERVICE. Kafka spins up 3 brokers. When prompted by the modal alert, click OPEN SERVICE.
-
Click the Catalog tab. Find and click the marathon-lb package, click the REVIEW & RUN button, then again, then RUN SERVICE. When prompted by the modal alert, click OPEN SERVICE.
If you are having trouble getting Marathon-LB up and running on a DC/OS Enterprise cluster, try installing it following these instructions. Depending on your security mode, Marathon-LB may require service authentication for access to DC/OS.
-
Click the Catalog tab. Click the zeppelin package, then click the REVIEW & RUN button.
- Click the spark tab on the left and set
cores_maxto8. - Click REVIEW AND RUN and click RUN. Click OPEN SERVICE.
- Click the spark tab on the left and set
-
Click the Services tab to watch as your microservices are deployed on DC/OS. You will see the Health status go from Idle to Unhealthy, and finally to Healthy as the nodes come online. This may take several minutes.
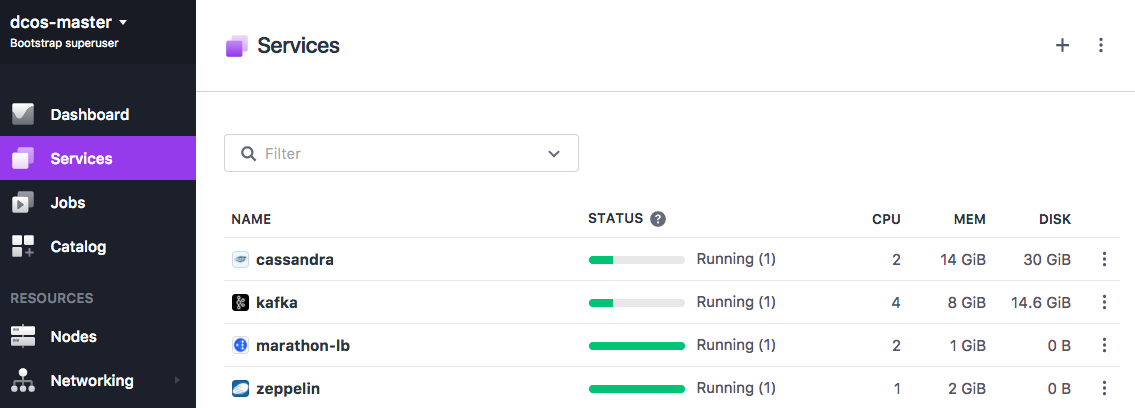
Figure 1. Services tab showing Tweeter services
Deploy the containerized app
In this step you deploy the containerized Tweeter app to a public node.
-
Navigate to the Tweeter GitHub repository and save the
/tweeter/tweeter.jsonMarathon app definition file. -
Add the
HAPROXY_0_VHOSTdefinition with the public IP address of your public agent node to yourtweeter.jsonfile.Important: You must remove the leading "http://" and the trailing "/". ... ], "labels": { "HAPROXY_GROUP": "external", "HAPROXY_0_VHOST": "<public-agent-IP>" } ...In this example, a DC/OS cluster is running on AWS:
... ], "labels": { "HAPROXY_GROUP": "external", "HAPROXY_0_VHOST": "52.34.136.22" } ... -
Navigate to the directory that includes your modified
tweeter.jsonfile. Install and deploy Tweeter to your DC/OS cluster.dcos marathon app add tweeter.jsonThe
instancesparameter intweeter.jsonspecifies the number of app instances. Use the following command to scale your app up or down:dcos marathon app update tweeter instances=<number_of_desired_instances>The service talks to Cassandra via cluster node
node-0.cassandra.mesos:9042, and Kafka via cluster nodebroker-0.kafka.mesos:9557, in this example. Traffic is routed via Marathon-LB because of theHAPROXY_0_VHOSTdefinition in thetweeter.jsonapp definition file. -
Go to the Services tab to verify your app is up and healthy.

Figure 2. Tweeter deployed
-
Navigate to the public agent node endpoint to see the Tweeter UI and post a tweet. In this example, you would point the browser at
52.34.136.22.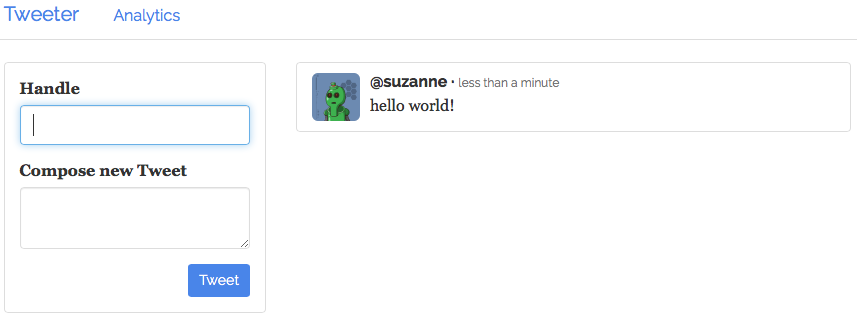
Figure 3. “Hello world” tweet
Post 100K tweets
In this step you deploy an app that automatically posts a large number of tweets from Shakespeare. The app will post more than 100k tweets one by one, so you’ll see them coming in steadily when you refresh the page.
-
Navigate to the Tweeter GitHub repository and save the
tweeter/post-tweets.jsonMarathon app definition file. -
Deploy the
post-tweets.jsonMarathon app definition file.dcos marathon app add post-tweets.json -
After the
post-tweets.jsonis running, refresh your browser to see the incoming Shakespeare tweets.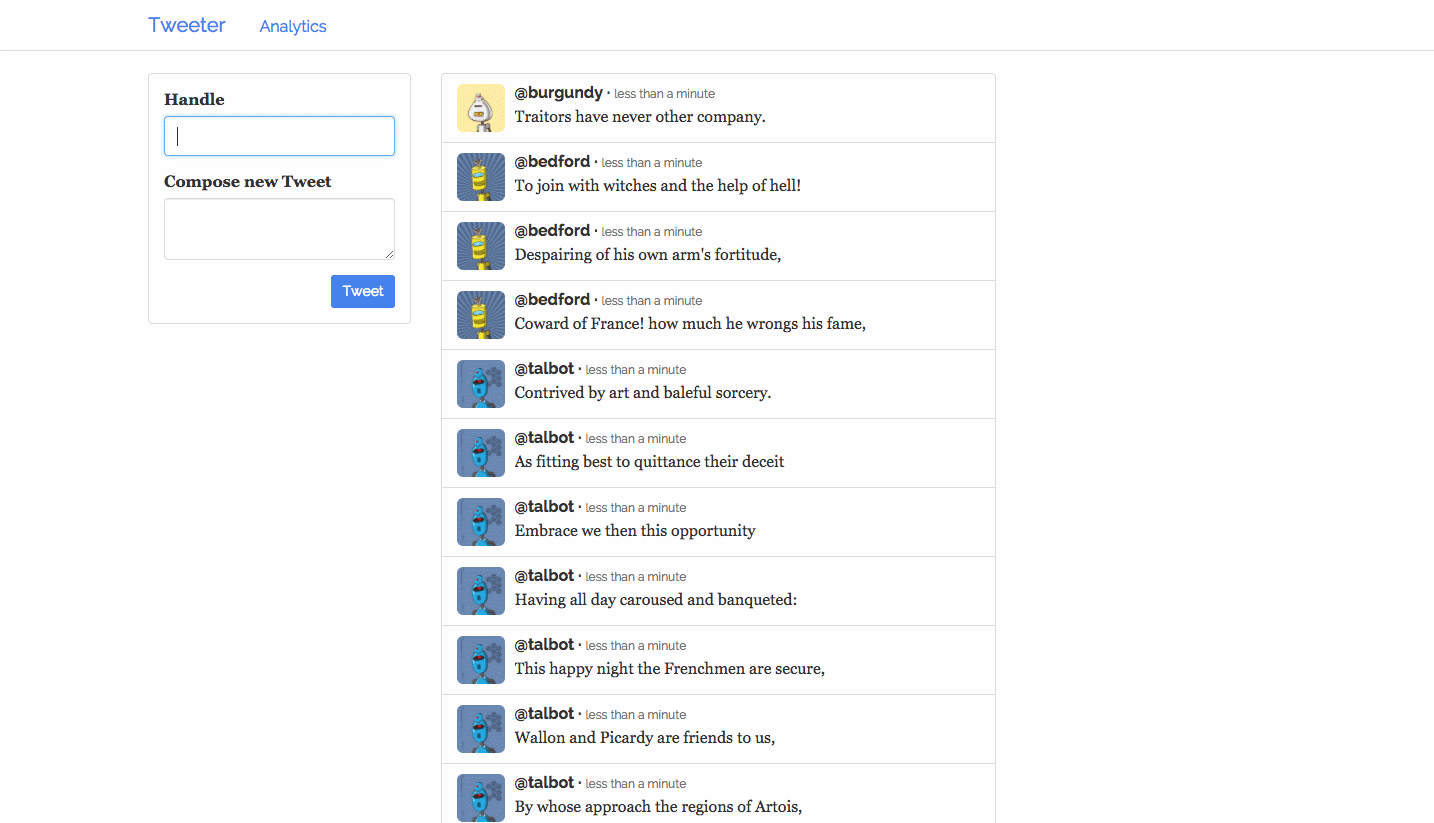
Figure 4. Shakespeare tweets
The post-tweets app works by streaming to the VIP 1.1.1.1:30000. This address is declared in the cmd parameter of the post-tweets.json app definition.
{
  "id": "/post-tweets",
  "cmd": "bin/tweet shakespeare-tweets.json http://1.1.1.1:30000",
...
}
The Tweeter app uses the service discovery and load balancer service that is installed on every DC/OS node. This address is defined in the tweeter.json definition VIP_0.
...
{
  "containerPort": 3000,
  "hostPort": 0,
  "servicePort": 10000,
  "labels": {
    "VIP_0": "1.1.1.1:30000"
    }
}
...
If you are using a DC/OS Enterprise cluster, click the Networking -> Service Addresses tab in the DC/OS web interface and select the 1.1.1.1:30000 virtual network to see the load balancing in action:
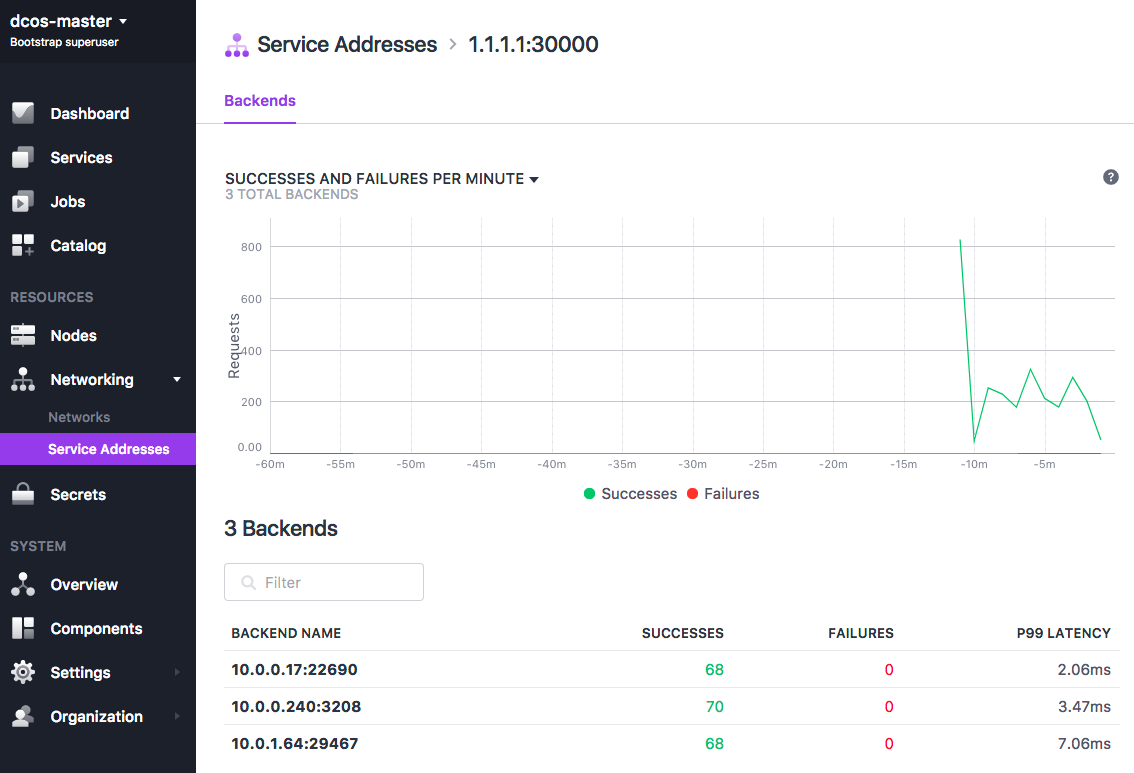
Figure 5. Scaled tweets
Add streaming analytics
In this last step, youv will perform real-time analytics on the stream of tweets coming in from Kafka.
-
Navigate to the Tweeter GitHub repository and save the
tweeter/post-tweets.jsonMarathon app definition file. -
Navigate to Zeppelin at
https://<master_ip>/service/zeppelin/. Your master IP address is the URL of the DC/OS web interface. -
Click Import Note and import
tweeter-analytics.json. Zeppelin is preconfigured to execute Spark jobs on the DC/OS cluster, so there is no further configuration or setup required. Be sure to usehttps://, nothttp://. -
Navigate to Notebook -> Tweeter Analytics.
-
Run the Load Dependencies step to load the required libraries into Zeppelin.
-
Run the Spark Streaming step, which reads the tweet stream from ZooKeeper and puts them into a temporary table that can be queried using SparkSQL.
-
Run the Top tweeters SQL query, which counts the number of tweets per user using the table created in the previous step. The table updates continuously as new tweets come in, so re-running the query produces a different result every time.
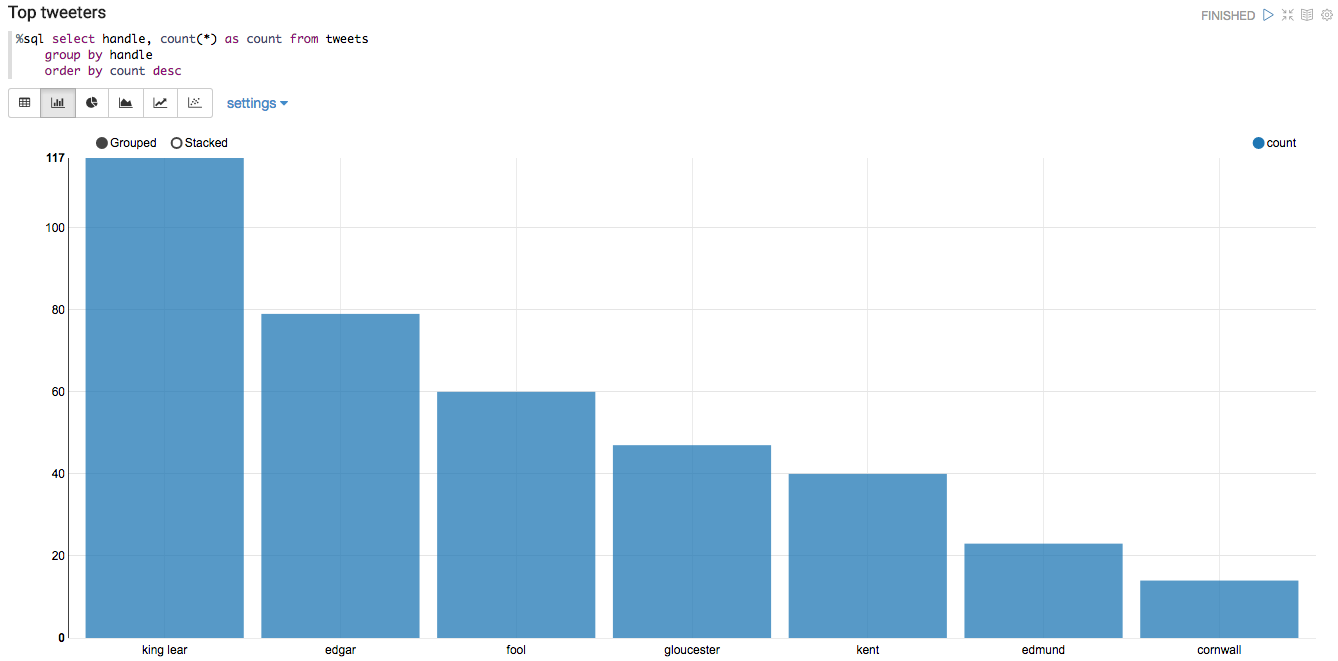
Figure 6. Top Tweeters
 DC/OS Documentation