You can manage user access from the Organization page. The Organization menu has 3 sub-menus:
- Users
- Groups
- Service Accounts
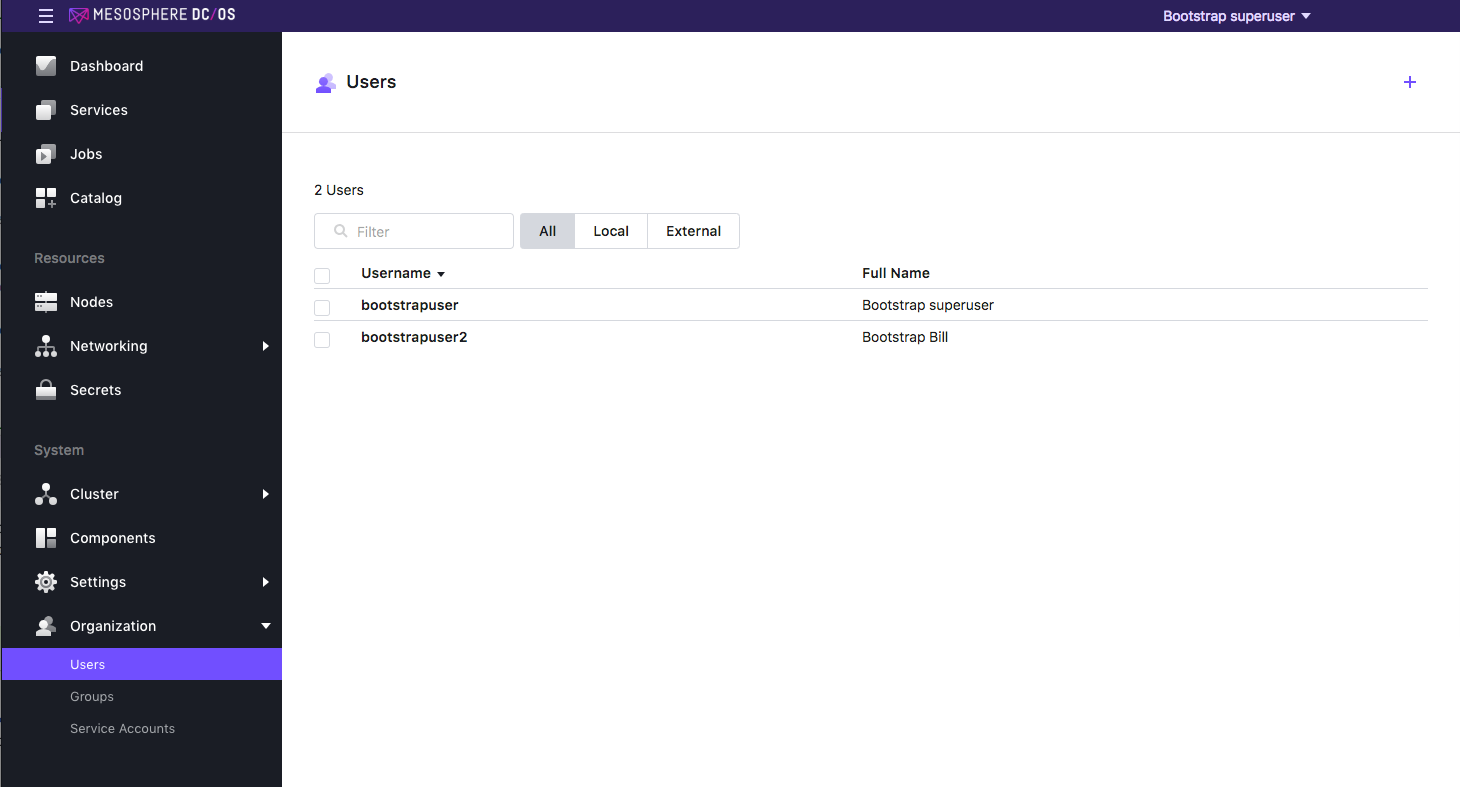
Figure 1 - Organization > Users tab
Users
The default page for the Organization tab is the Users page. You can add, delete and manage individual users from this tab. There are two columns for this page:
| Name | Description |
|---|---|
| Username | You can sort the username list on this field. |
| Full name | This is the user’s full name. |
You can also filter this list by:
| Name | Description |
|---|---|
| All | Shows all users |
| Local | Local user accounts exist only in DC/OS™. |
| External | DC/OS stores only the user’s ID or user name, along with other DC/OS-specific information, such as permissions and group membership. DC/OS never receives or stores the passwords of external users. Instead, it delegates the verification of the user’s credentials to one of the following: LDAP directory, SAML, or OpenID Connect®. See Managing Users and Groups for more information. |
If you click on the name of a user, the User page for that individual will be displayed. This page has three tabs: Permissions, Group Membership, and Details.
Permissions
The Users > Permissions tab shows all the resources allocated to this user. From this screen you can delete a user. You can also manage permissions granted to this user.
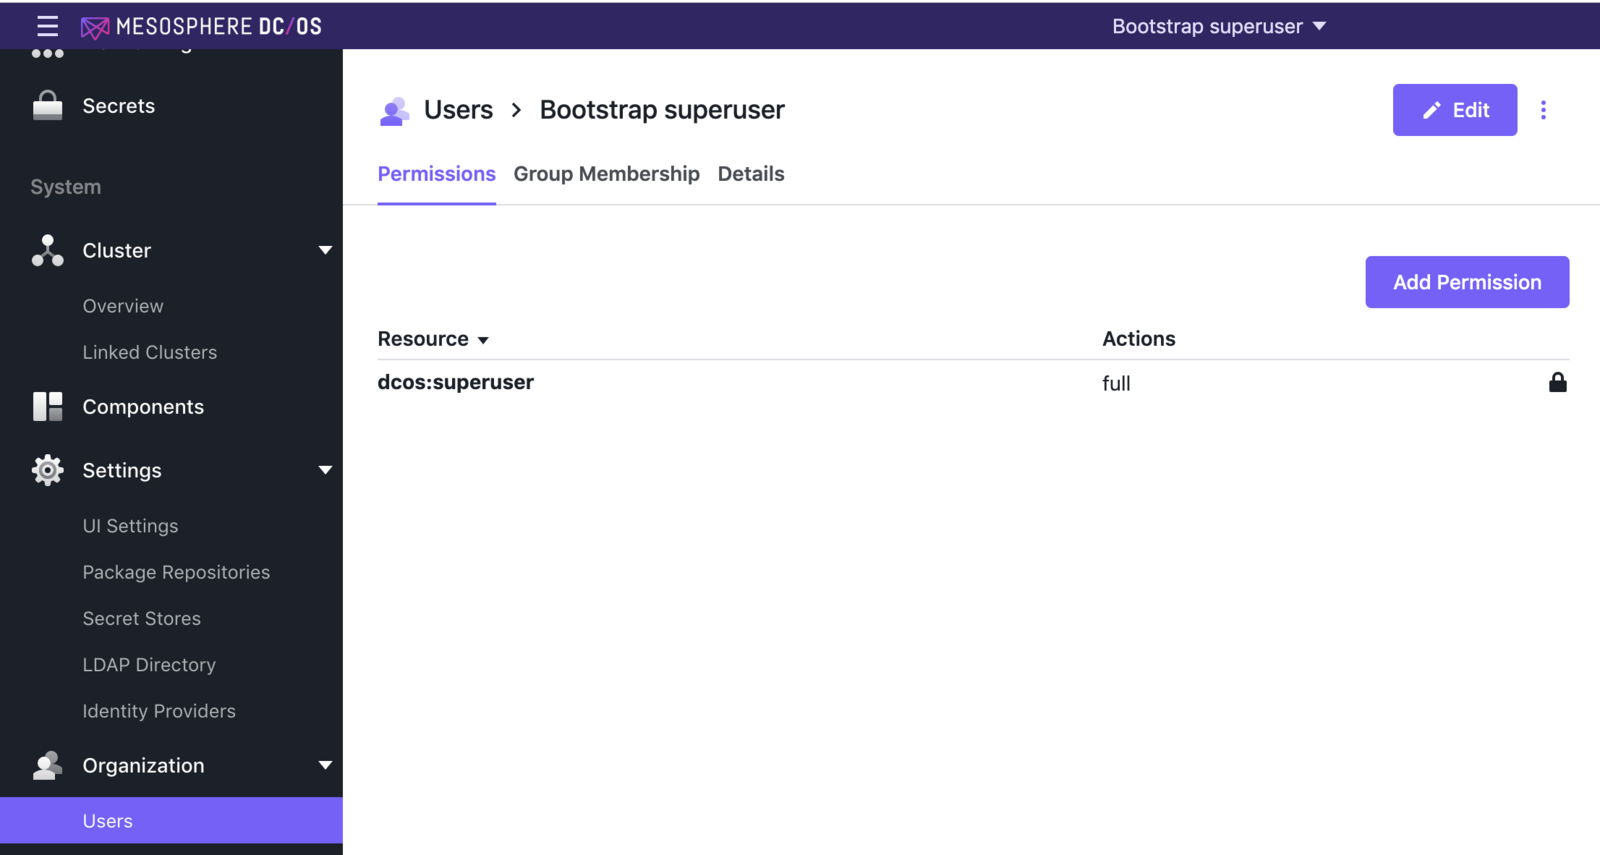
Figure 2 - Permissions tab
From this page, you can edit the user permissions or delete the user entirely. For more information see the Permissions Management documentation.
Group membership
The Users > Group Membership tab shows all the groups to which this individual user belongs. You can sort the Group ID column alphabetically. You can also edit the groups using the Edit button at the top right.
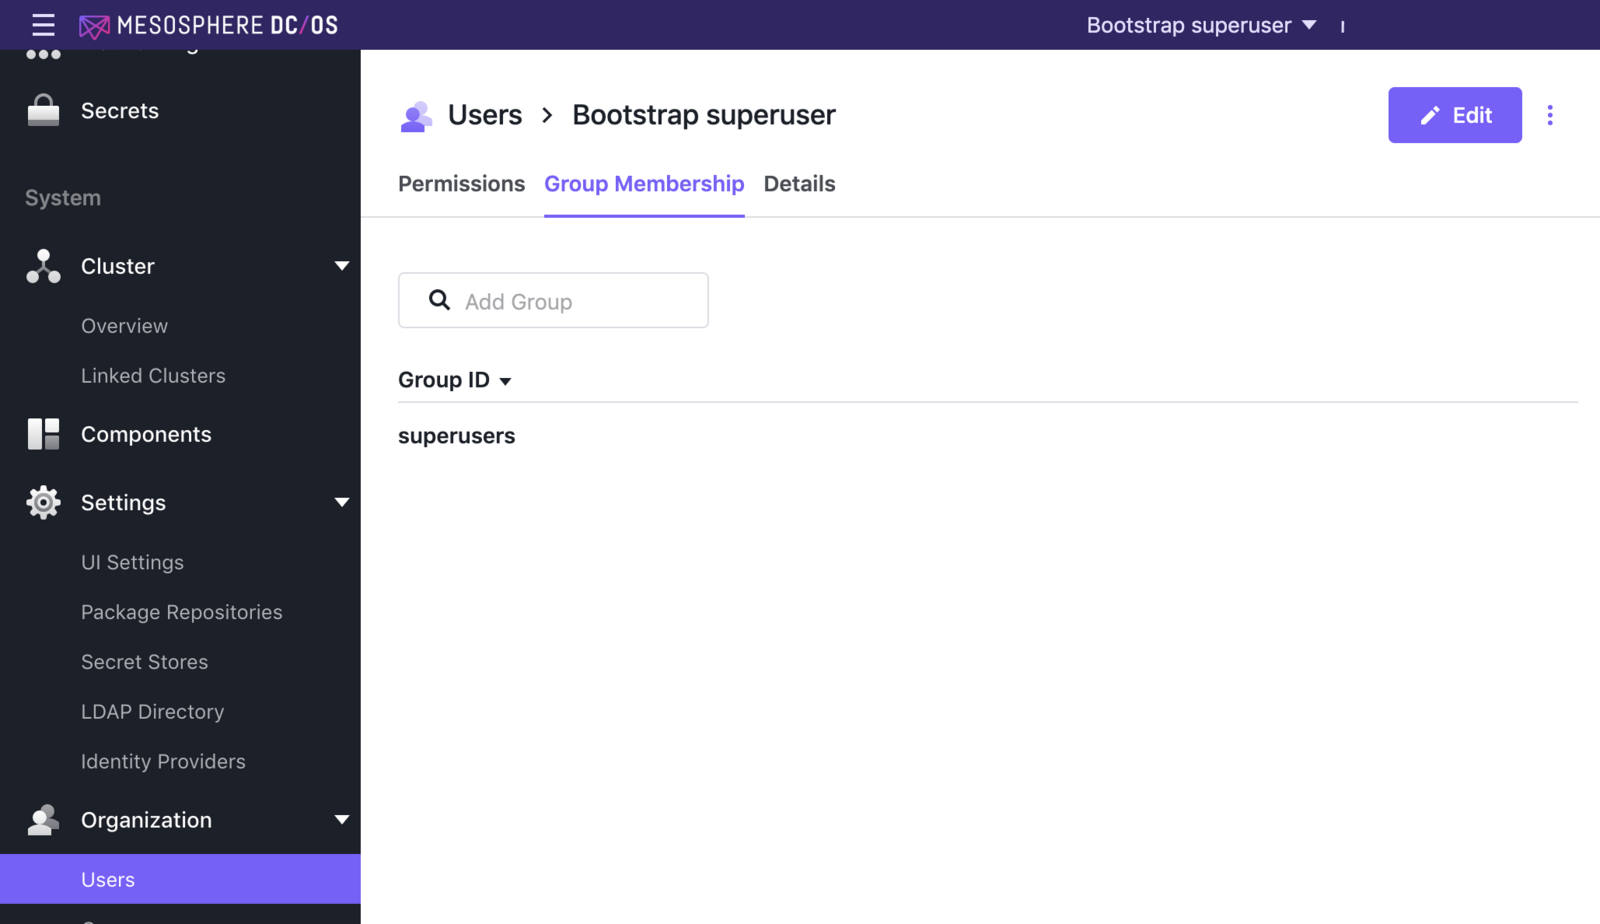
Figure 3 - Group Membership tab
From this tab you can also add a user to a group.
Details
The Users > Details tab shows details about this user:
| Name | Description |
|---|---|
| ID | User ID of this user |
| Description | This is the user’s full name. |
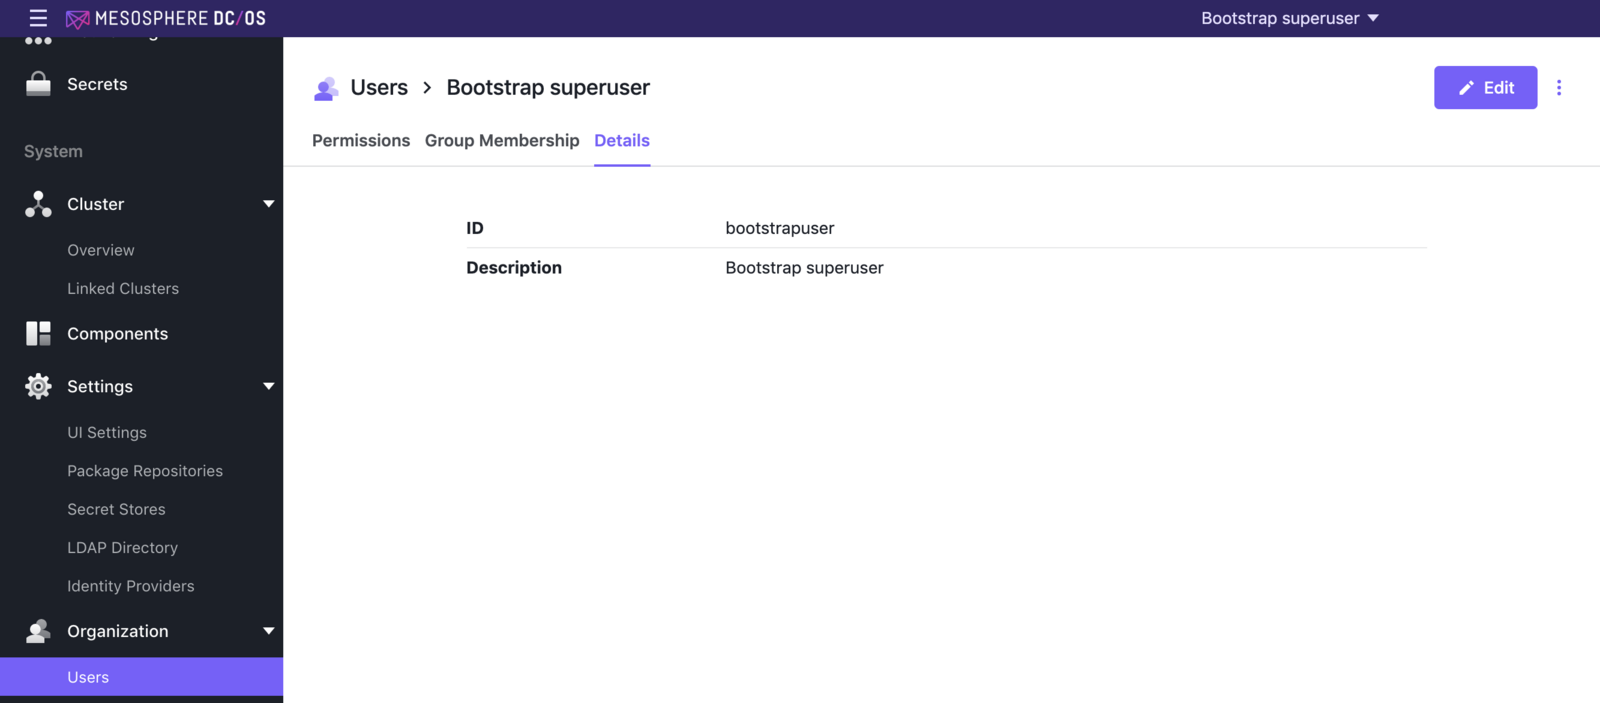
Figure 4 - Details tab
Groups
DC/OS Enterprise allows you to create groups of users and import groups of users from LDAP. Groups can make it easier to manage permissions. Instead of assigning permissions to each user account individually, you can assign the permissions to an entire group of users at once.
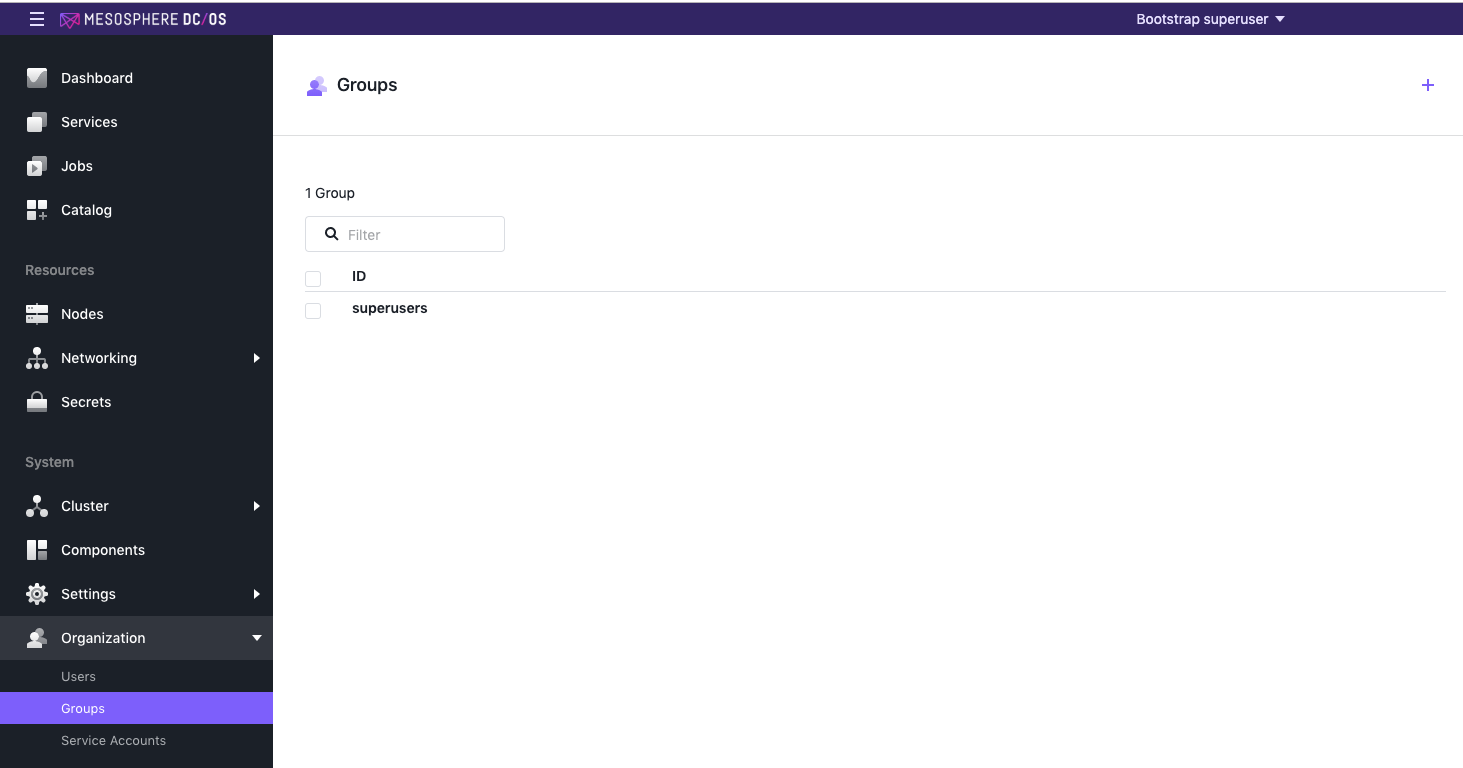
Figure 5 - Groups main page
If you click on the ID of a group, you can open a Details page for it. This page has 3 tabs: Permissions, Users, and Service Accounts.
Permissions
The Organization > Groups > Permissions tab displays all the resources allocated to a specific group. From this page, you can add permissions using either the Edit menu under the vertical dots, or by using the Add Permission button.
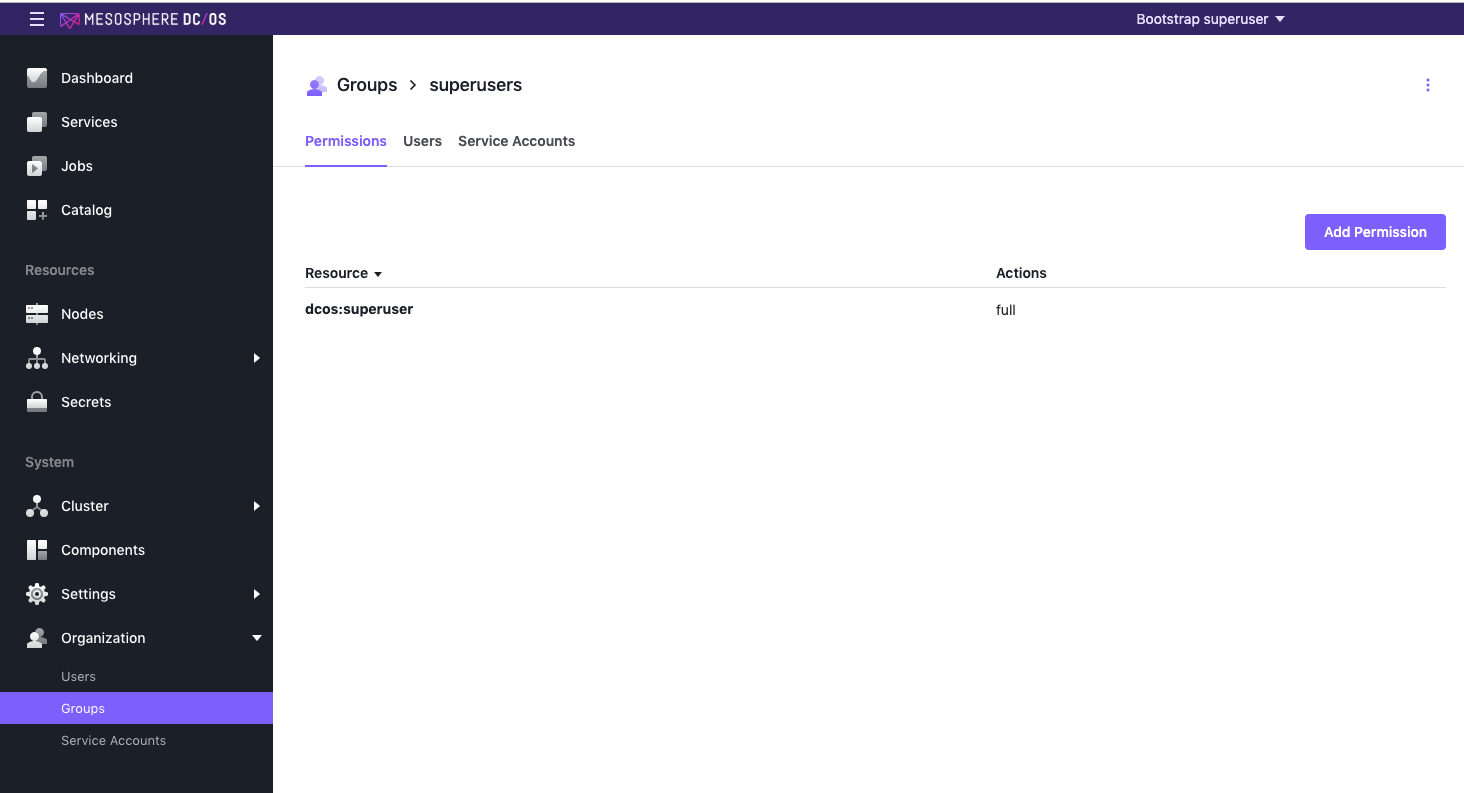
Figure 6 - Groups > Permissions tab
Users
From the Groups > Users tab, you can add already-established users to an existing group.
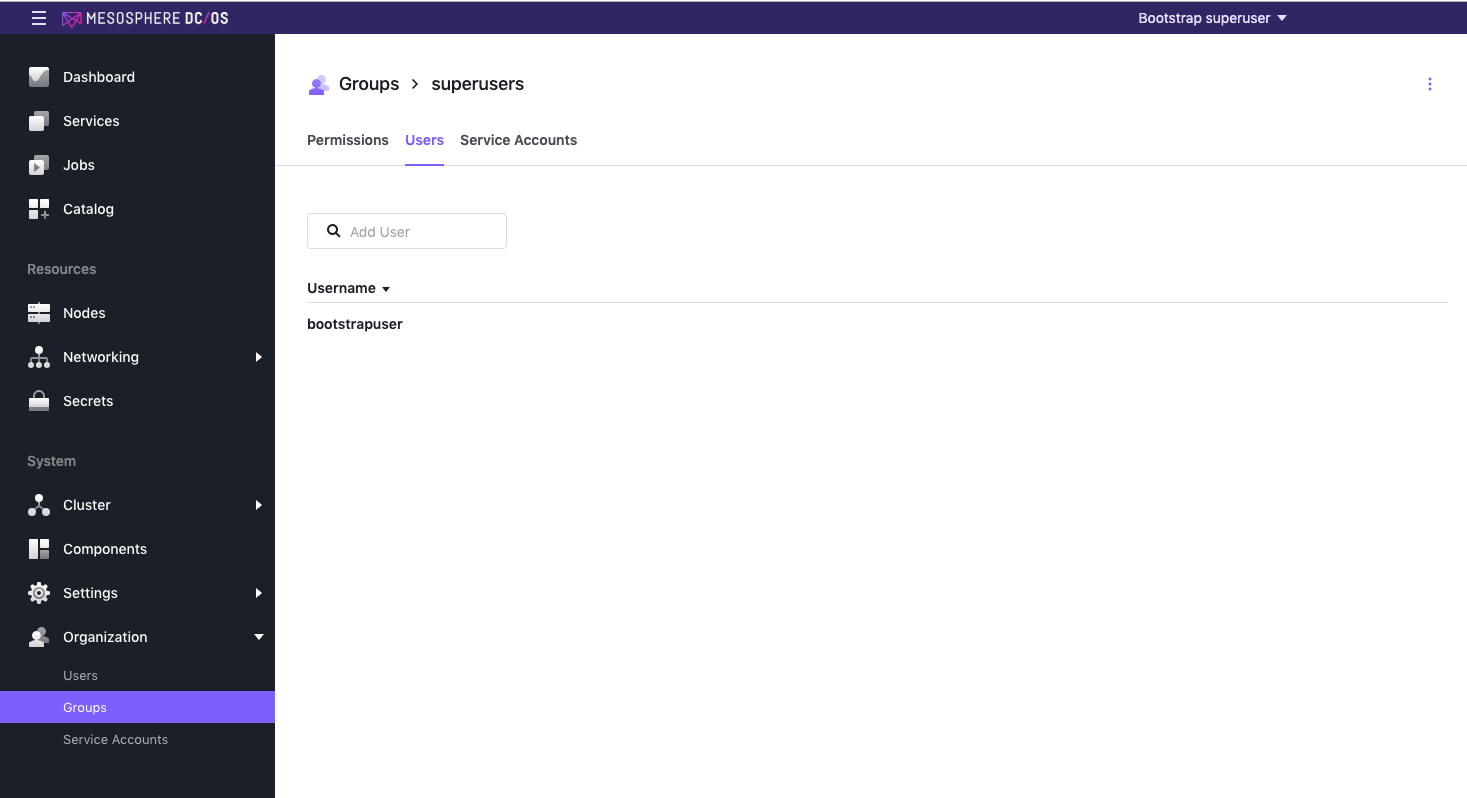
Figure 7 - Groups > Users tab
Service Accounts
From the Groups > Service Accounts tab, you can add already-established service accounts to your group.
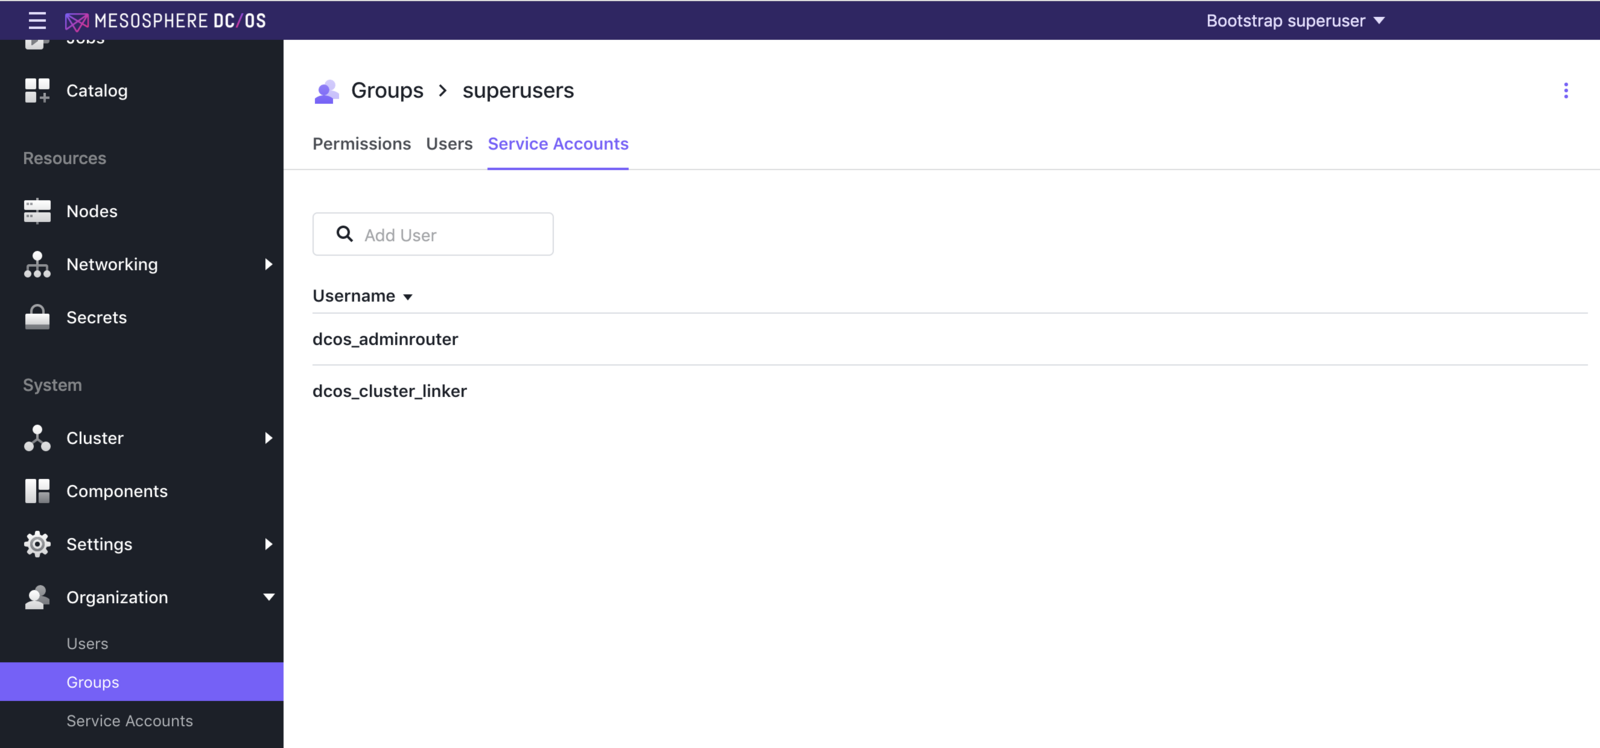
Figure 8 - Groups > Service Accounts tab
For more information on managing groups, see the Managing Users and Groups documentation.
 DC/OS Documentation