This topic describes how to deploy a non-native instance of Marathon with isolated roles, reservations, and quotas. This procedure does not support secrets or fine-grained ACLs. If you require these features, you must use the custom non-native Marathon procedure.
Prerequisites:
- DC/OS and DC/OS CLI installed.
- DC/OS Enterprise CLI 0.4.14 or later.
- You must be logged in as a superuser.
- SSH access to the cluster.
Step 1 - Reserve Resources
In this step, Mesos resources are reserved. Choose the procedure for either static or dynamic reservations.
Static Reservations
- SSH to your private agent node.
dcos node ssh --master-proxy --mesos-id=<agent-id>
-
Navigate to
/var/lib/dcosand create a file namedmesos-slave-commonwith these contents, where<myrole>is the name of your role.MESOS_DEFAULT_ROLE='<myrole>' -
Stop the private agent node:
sudo sh -c 'systemctl kill -s SIGUSR1 dcos-mesos-slave && systemctl stop dcos-mesos-slave' -
Add the node back to your cluster.
-
Reload the
systemdconfiguration.sudo systemctl daemon-reload -
Remove the
latestmetadata pointer on the agent node:sudo rm /var/lib/mesos/slave/meta/slaves/latest -
Start your agents with the newly configured attributes and resource specification.
sudo systemctl start dcos-mesos-slaveYou can check the status with this command:
sudo systemctl status dcos-mesos-slave
-
-
Repeat these steps for each additional node.
Dynamic Reservations
Reserve resources for your non-native Marathon instance with the Mesos ID (<mesos-id>), user ID (<userid>), role (<myrole>), and ports (<begin-port> and <end-port>) specified.
curl -i -k \
      -H "Authorization: token=`dcos config show core.dcos_acs_token`" \
      -H "Content-Type: application/json" \
      -H "Accept: application/json" \
      -d '{
  "type": "RESERVE_RESOURCES",
  "reserve_resources": {
    "agent_id": {
      "value": "<mesos-id>"
    },
    "resources": [
      {
        "type": "SCALAR",
        "name": "cpus",
        "reservation": {
          "principal": "<userid>"
        },
        "role": "<myrole>",
        "scalar": {
          "value": 1.0
        }
      },
      {
        "type": "SCALAR",
        "name": "mem",
        "reservation": {
          "principal": "<userid>"
        },
        "role": "<myrole>",
        "scalar": {
          "value": 512.0
        }
      },
      {
        "type": "RANGES",
        "name": "ports",
        "reservation": {
          "principal": "<userid>"
        },
        "role": "<myrole>",
        "ranges": {
          "range": [
            {
              "begin": <begin-port>,
              "end": <end-port>
            }
          ]
        }
      }
    ]
  }
}' \
      -X POST "`dcos config show core.dcos_url`/mesos/api/v1"
Step 2 - Install a Non-Native Marathon Instance with Assigned Role
In this step, a non-native Marathon instance is installed on DC/OS with the Mesos role assigned.
- Create a custom JSON config file and save as
marathon-config.json. This file is used to install the custom non-native Marathon instance.{"marathon": { "mesos-role": "<myrole>", "role": "<myrole>", "default-accepted-resource-roles": "*,<myrole>" } } - Install the Marathon package from Catalog with the custom JSON configuration specified (
marathon-config.json).dcos package install --options=marathon-config.json marathon
Step 3 - Create a Marathon Service Account
In this step, a Marathon Service Account is created. Depending on your security mode, a Marathon Service Account is either optional or required.
| Security Mode | Marathon Service Account |
|---|---|
| Permissive | Optional |
| Strict | Required |
-
Create a 2048-bit RSA public-private key pair (
<private-key>.pemand<public-key>.pem) and save each value into a separate file within the current directory.dcos security org service-accounts keypair <private-key>.pem <public-key>.pem -
Create a new service account called
<service-account-id>, with the public key specified (<public-key>.pem).dcos security org service-accounts create -p <public-key>.pem -d "Non-native Marathon service account" <service-account-id>
Step 4 - Assign Permissions (Strict mode only)
In this step, permissions are assigned to the Marathon-on-Marathon instance. Permissions are required in strict mode and are ignored in permissive security mode.
All CLI commands can also be executed via the IAM API.
| Security Mode | Permissions |
|---|---|
| Permissive | Not available |
| Strict | Required |
Grant the permission for user <uid> to launch Mesos tasks that will execute as Linux user nobody.
To allow executing tasks as a different Linux user, replace nobody with that user’s Linux user ID. For example, to launch tasks as Linux user bob, replace nobody with bob below.
Note that the nobody and root users exist on all agents by default, but if a custom bob user is specified it must have been manually created (using the adduser or similar utility) on every agent that tasks can be executed on.
dcos security org users grant <uid> dcos:mesos:master:task:user:nobody create --description "Tasks can execute as Linux user nobody"
dcos security org users grant <uid> dcos:mesos:master:framework:role:<myrole> create --description "Controls the ability of <myrole> to register as a framework with the Mesos master"
dcos security org users grant <uid> dcos:mesos:master:reservation:role:<myrole> create --description "Controls the ability of <myrole> to reserve resources"
dcos security org users grant <uid> dcos:mesos:master:volume:role:<myrole> create --description "Controls the ability of <myrole> to access volumes"
dcos security org users grant <uid> dcos:mesos:master:reservation:principal:<uid> delete --description "Controls the ability of <uid> to reserve resources"
dcos security org users grant <uid> dcos:mesos:master:task:app_id:/ create--description "Controls the ability to launch tasks"
dcos security org users grant <uid> dcos:mesos:master:volume:principal:<uid> delete --description "Controls the ability of <uid> to access volumes"
Step 5 - Grant User Access to Non-Native Marathon
In this step, a user is granted access to the non-native Marathon instance.
-
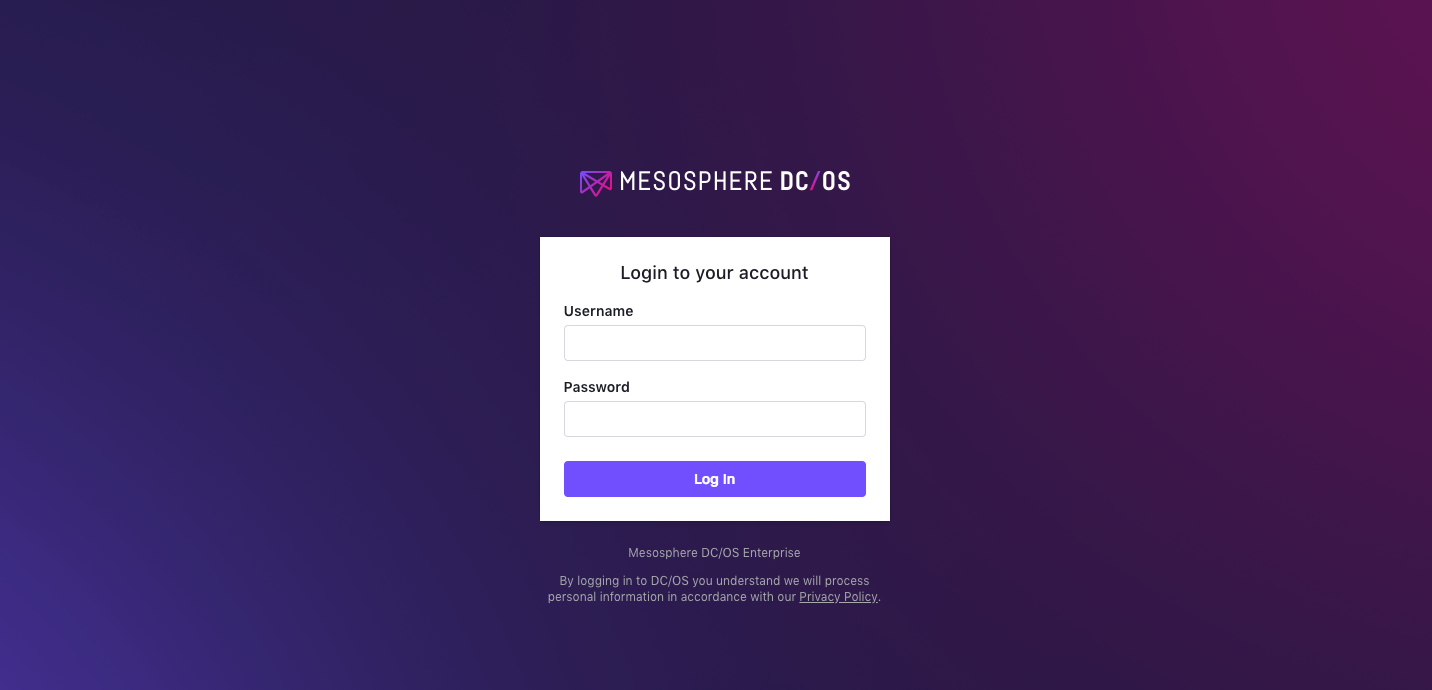
Log in to the DC/OS web interface as a user with the
superuserpermission.
Figure 1. DC/OS web interface login screen.
-
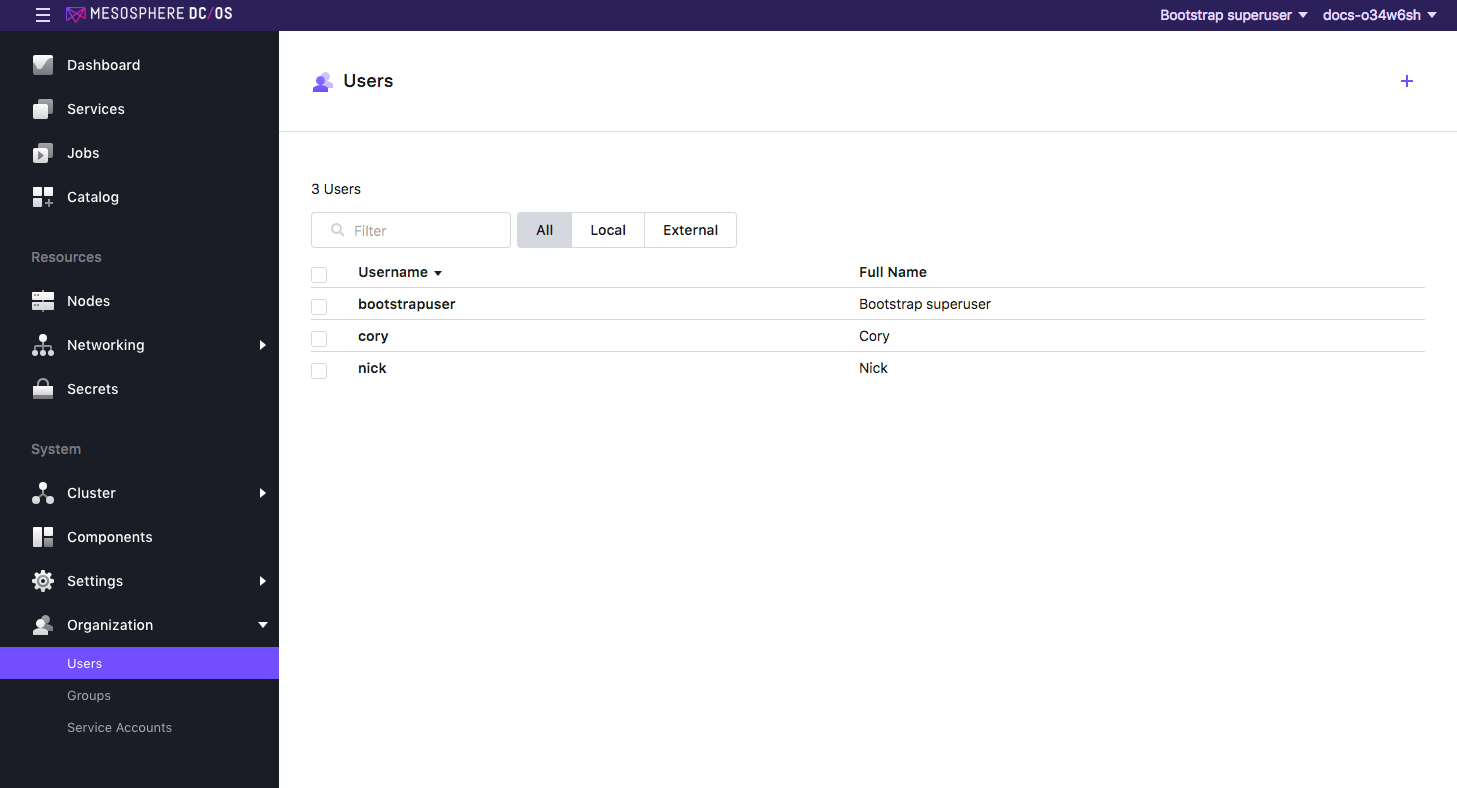
Select Organization and choose Users or Groups.
-
Select the name of the user or group to grant the permission to.

Figure 2. Select user or group permission
-
From the Permissions tab click ADD PERMISSION.
-
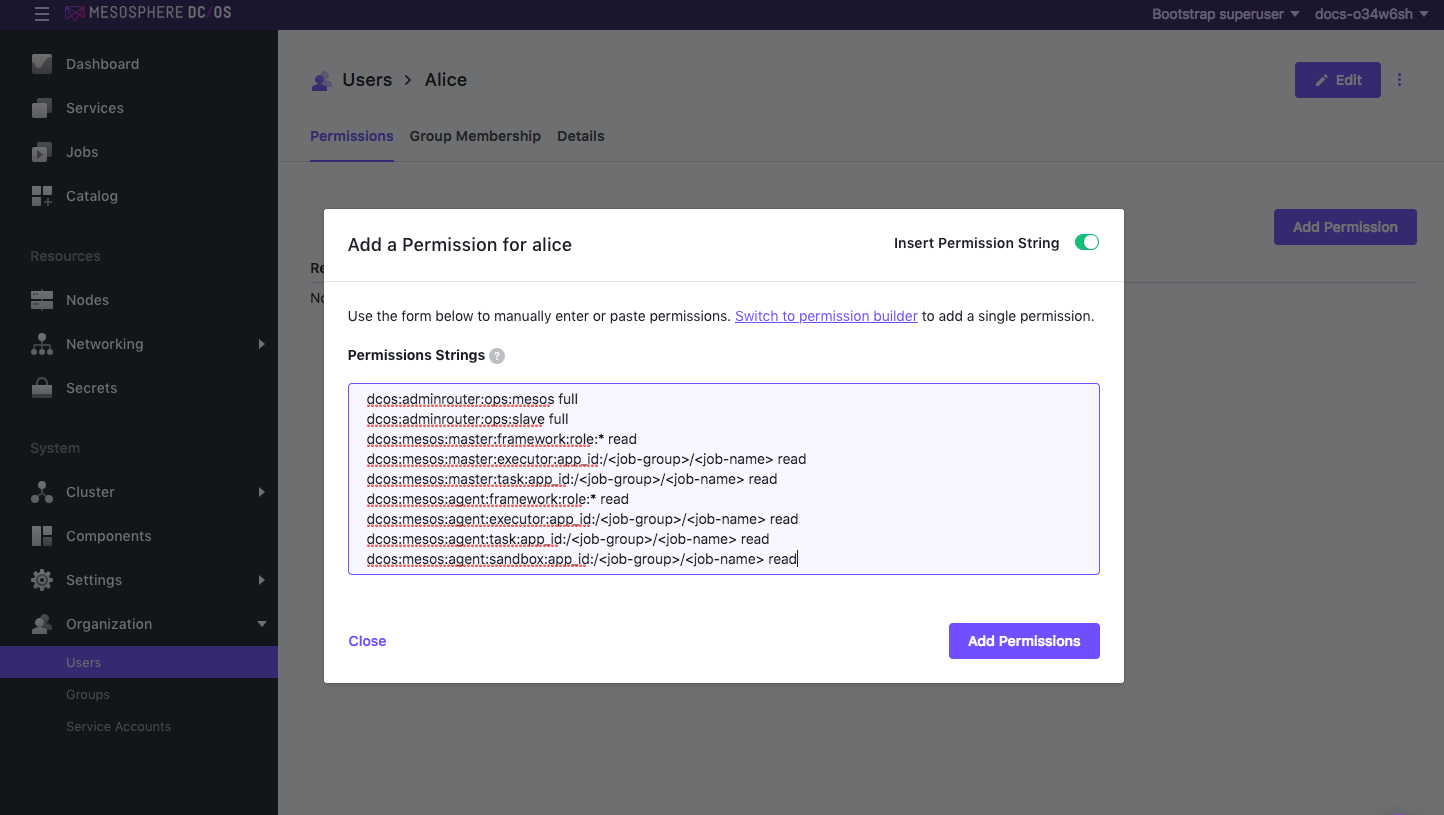
Click INSERT PERMISSION STRING to toggle the dialog.

Figure 3. Add permissions.
-
Copy and paste the permission in the Permissions Strings field. Choose the permission strings based on your security mode.
Permissive
-
Full access
dcos:adminrouter:service:<service-name> full dcos:service:marathon:<service-name>:services:/ full dcos:adminrouter:ops:mesos full dcos:adminrouter:ops:slave full -
Access to an individual service or group
Specify the service or group (
<service-or-group>) and action (<action>). Actions can be eithercreate,read,update,delete, orfull. To permit more than one operation, use a comma to separate them, for example:dcos:service:marathon:<service-name>:services:/<service-or-group> read,update.dcos:adminrouter:service:<service-name> full dcos:service:marathon:<service-name>:services:/<service-or-group> <action> dcos:adminrouter:ops:mesos full dcos:adminrouter:ops:slave full
Strict
-
Full access
dcos:adminrouter:service:<service-name> full dcos:service:marathon:<service-name>:services:/ full dcos:adminrouter:ops:mesos full dcos:adminrouter:ops:slave full dcos:mesos:agent:executor:app_id:/ read dcos:mesos:agent:framework:role:<myrole> read dcos:mesos:agent:sandbox:app_id:/ read dcos:mesos:agent:task:app_id:/ read dcos:mesos:master:executor:app_id:/ read dcos:mesos:master:framework:role:<myrole> read dcos:mesos:master:task:app_id:/ read -
Access to an individual service or group
Specify the service or group (
<service-or-group>), service name (<service-name>), role (<myrole>), and action (<action>). Actions can be eithercreate,read,update,delete, orfull. To permit more than one operation, use a comma to separate them, for example:dcos:service:marathon:<service-name>:services:/<service-or-group> read,update.dcos:adminrouter:service:<service-name> full dcos:service:marathon:<service-name>:services:/<service-or-group> <action> dcos:adminrouter:ops:mesos full dcos:adminrouter:ops:slave full dcos:mesos:agent:executor:app_id:/<service-or-group> read dcos:mesos:agent:framework:role:<myrole> read dcos:mesos:agent:sandbox:app_id:/<service-or-group> read dcos:mesos:agent:task:app_id:/<service-or-group> read dcos:mesos:master:executor:app_id:/<service-or-group> read dcos:mesos:master:framework:role:<myrole> read dcos:mesos:master:task:app_id:/<service-or-group> read
-
-
Click ADD PERMISSIONS and then Close.
Step 6 - Access the Non-Native Marathon Instance
In this step, you log in as a authorized user to the non-native Marathon DC/OS service.
-
Launch the non-native Marathon interface at:
http://<master-public-ip>/service/<service-name>/. -
Enter your username and password and click LOG IN.

Figure 4. DC/OS log in screen
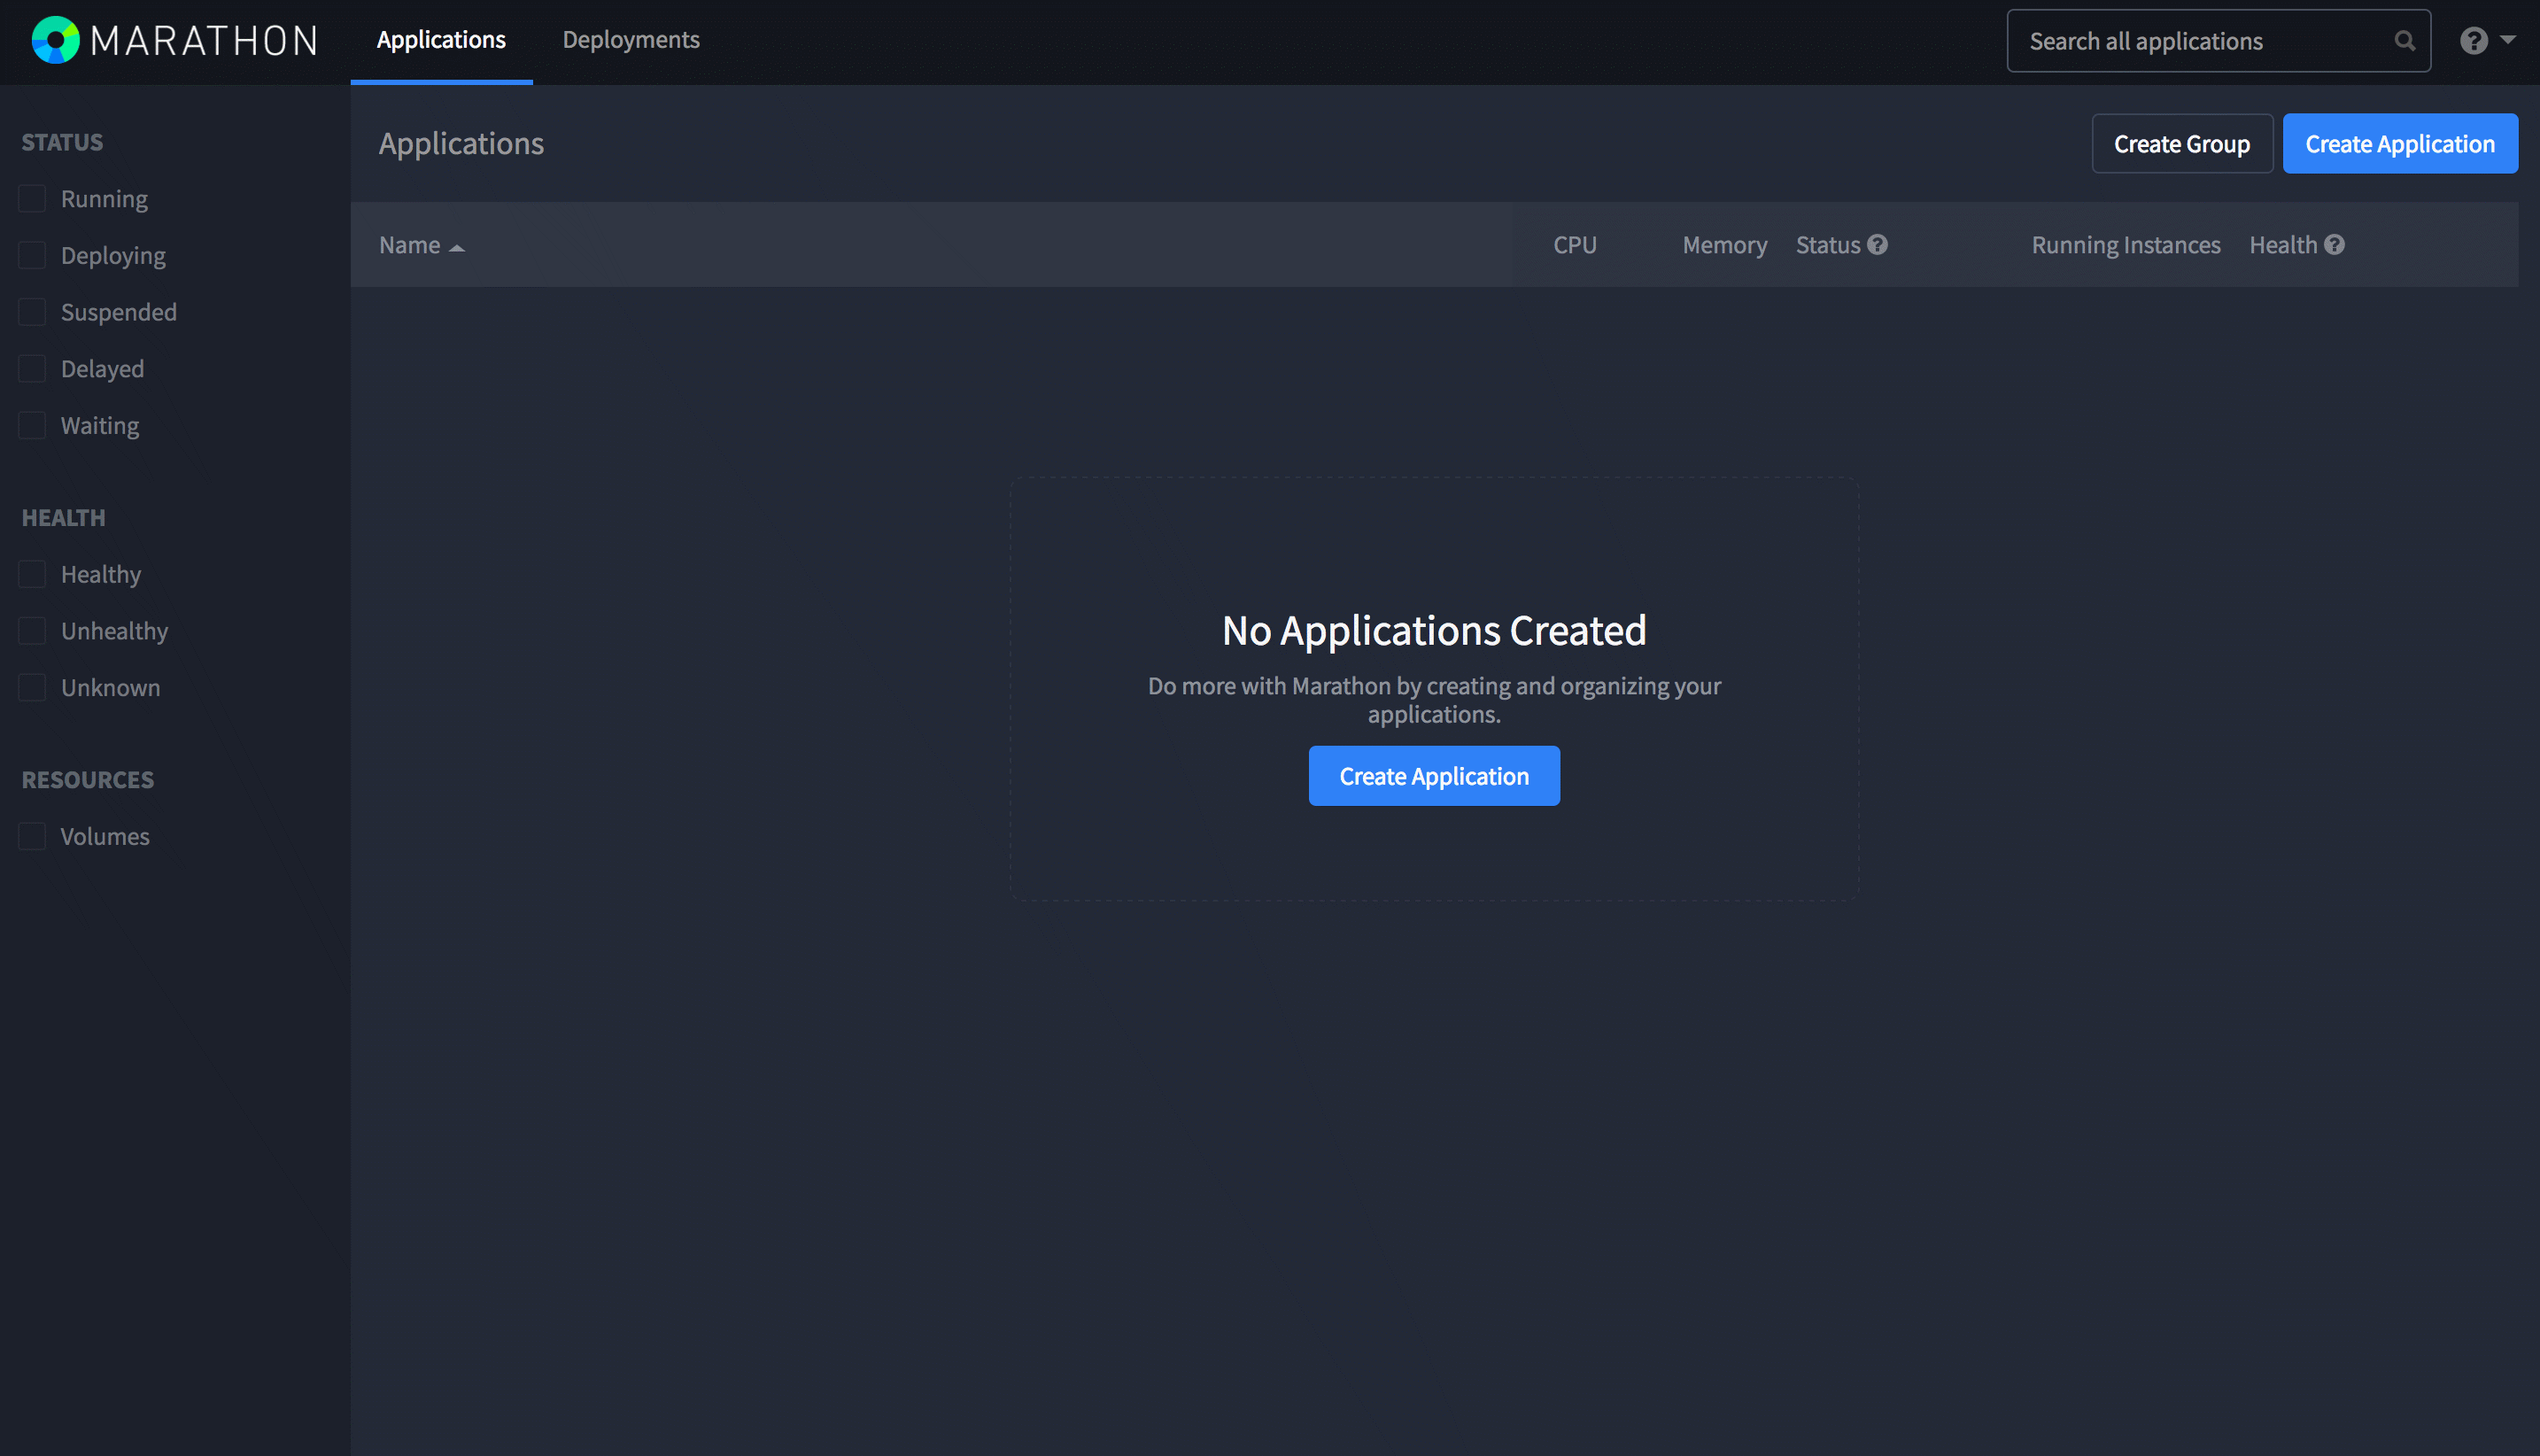
You are done!

Figure 5. Success screen.
 DC/OS Documentation