Installing a service using the CLI
The general syntax for installing a service with the CLI is:
dcos package install [--options=<config-file-name>.json] <servicename>
Use the optional --options flag to specify the name of the customized JSON file you created in advanced configuration.
For example, use the following command to install Chronos with the default parameters.
dcos package install chronos
Installing a service using the UI
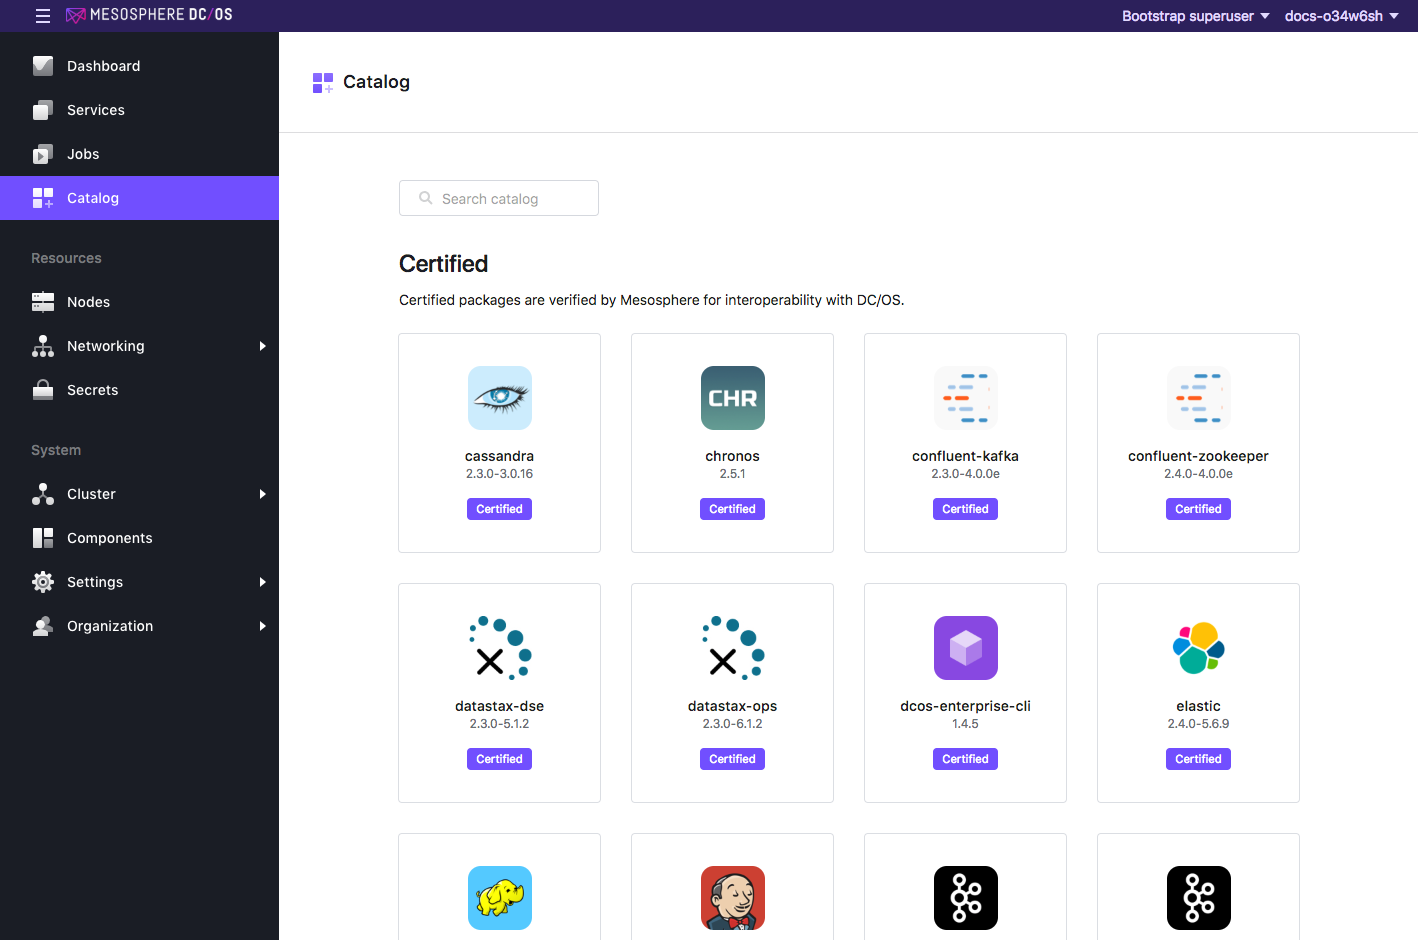
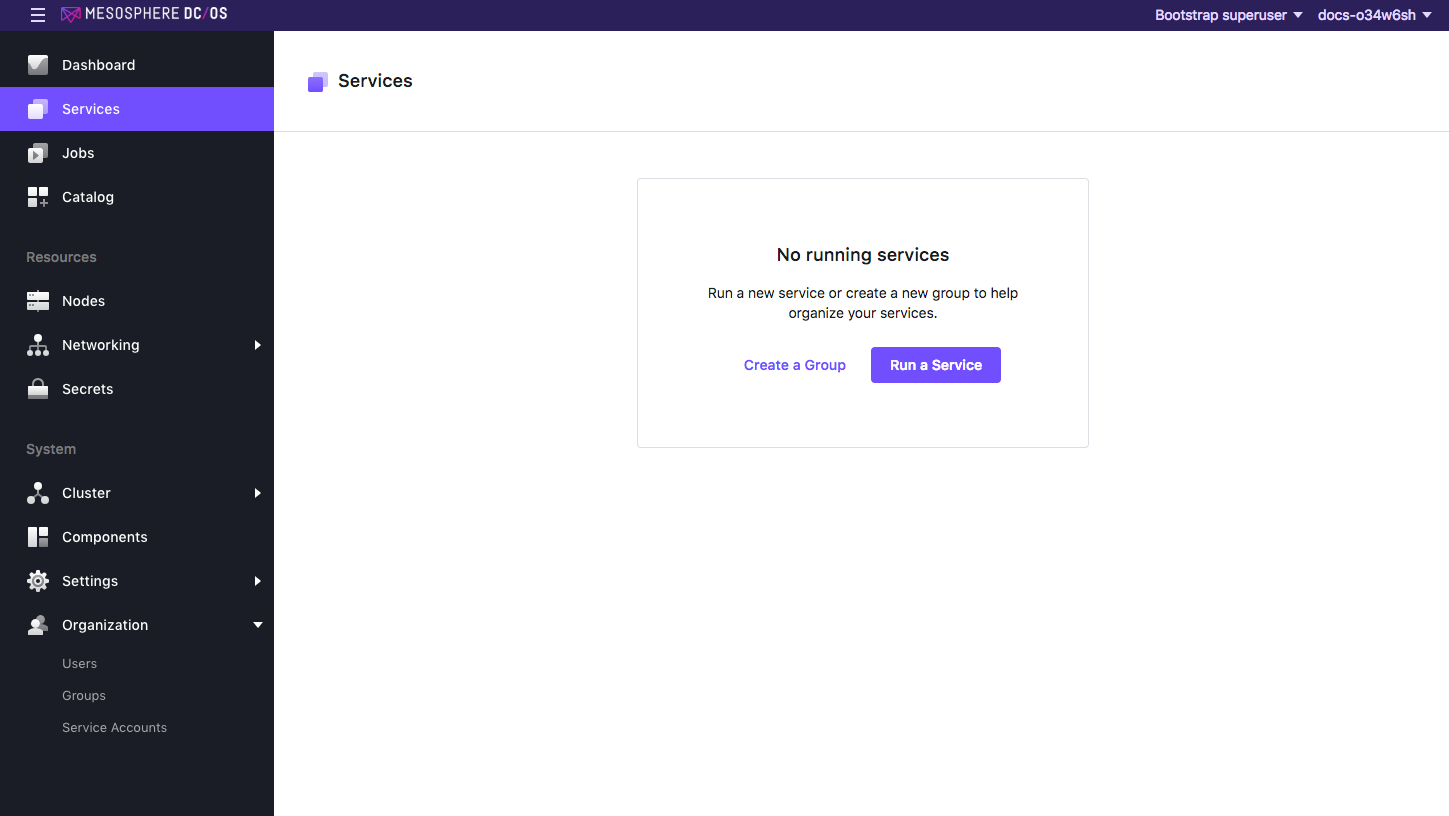
From the DC/OS™ UI you can install services from the Services or Catalog tab. The Catalog tab shows all of the available DC/OS services from package repositories. The Services tab provides a full featured interface to the native DC/OS Marathon instance.
Catalog tab
-
Navigate to the Catalog tab in the DC/OS UI.

Figure 1. Catalog
-
Click a package.
- Click REVIEW & RUN.
- Optionally click EDIT, customize parameters, and click REVIEW & RUN.
- Click RUN SERVICE.
Services tab
-
Navigate to the Services tab in the DC/OS UI.
-
Click RUN A SERVICE and specify your Marathon app definition.

Figure 2. Services screen
Verifying your installation
CLI
dcos package list
UI
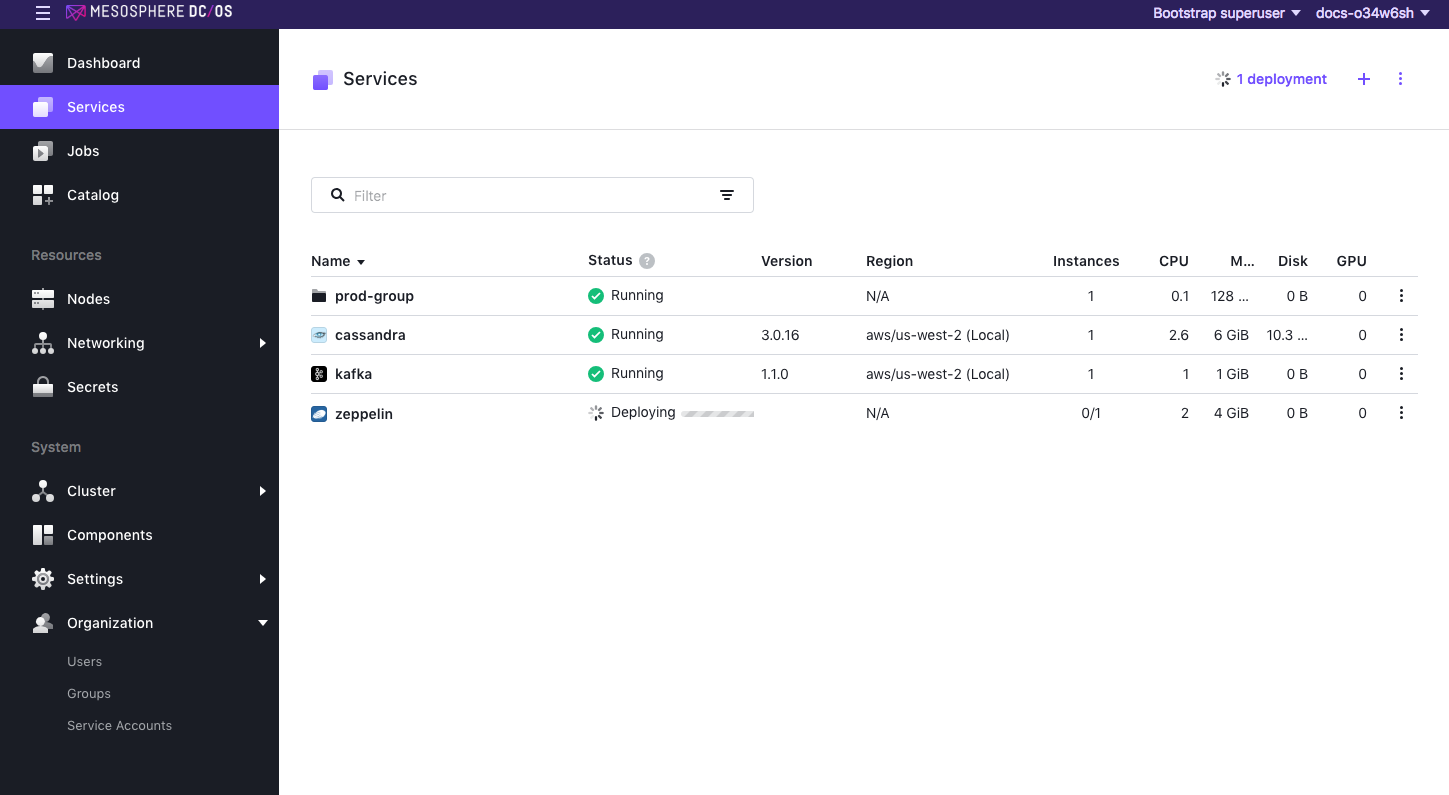
Go to the Services tab and confirm that the service is running. For more information, see the UI documentation.

Figure 3. Service is running
Some services from the Community section of the Catalog will not show up in the DC/OS service listing. For these, inspect the service’s Marathon app in the Marathon UI to verify that the service is running and healthy.
 DC/OS Documentation