Before you begin
- Configured AWS Infrastructure Provider, or adding credentials using AWS role credentials.
Simplified Cluster Creation on AWS

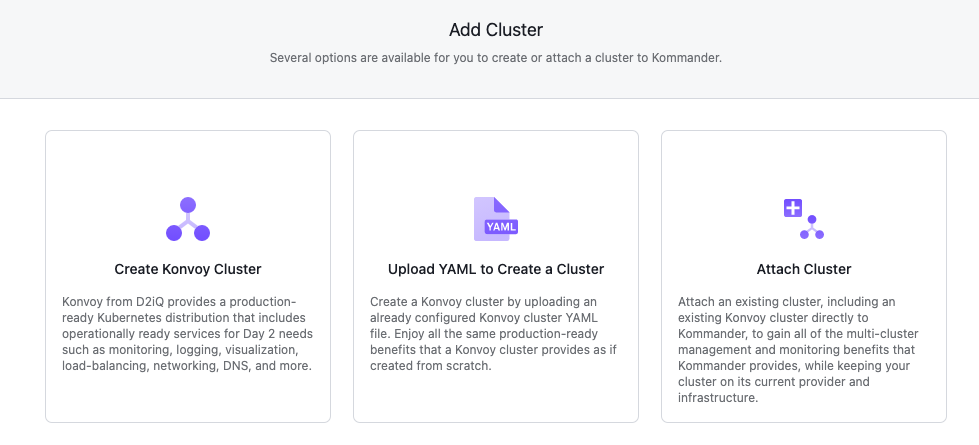
From the Add Cluster menu, select the Create Konvoy Cluster and provide some basic cluster details:
- Workspace: The workspace where this cluster belongs.
- Kubernetes Version: The initial version of Kubernetes to install on the cluster.
- Name: A display name for referencing the cluster.
Select the preconfigured AWS infrastructure provider (or AWS role credentials) to display the remaining options specific to AWS.
- Region: Select the datacenter region to reveal selectable Availability Zones.
- Availability Zones: Indicates the availability zones to use for cluster provisioning.
- Configure Node Pools: Specify pools of nodes, their size, and quantity. The default suggests a control plane pool containing 3 m5.xlarge nodes and a worker pool containing 4 m5.2xlarge nodes. You can also specify labels, node taints, and subnet ID’s as part of each pool.
- Add Infrastructure Provider Tags: Specify tags to be set on all resources created in your infrastructure provider for this cluster. You can add up to 10 tags in this form. Different infrastructure providers have varying restrictions on their tags. See the AWS Tags User Guide for more information on using tags in AWS.
- Add Labels: By default, your cluster has labels that reflect the infrastructure provider provisioning. For example, your AWS cluster may be labelled with the datacenter region and
provider: aws. Cluster labels are matched to the selectors created for projects. Changing a cluster label may add or remove the cluster from projects.
Select Continue to begin provisioning the Konvoy cluster.
 Kommander Documentation